
Nothing To Do? 35+ DIY Home Repair Hacks To Try When Not Busy
It’s always excellent to know some DIY home repair hacks in case you ever find yourself in a bind. With these hacks, you’ll save money and stress. Skilled labor can be expensive, so if you have the means to do the grind without that, you’ll save a lot in the long run.
Moreover, you’ll avoid stress. Even if something little goes wrong and you have to call a repair person, you’ll be stressed until they can come and fix the problem. But if you can take care of it yourself, you’ll avoid that added stress entirely.
In addition, doing these home repairs will make you feel more confident. Knowing how to do repairs yourself will give you a sense of control. We’ve gathered some priceless tips to help you get into DIY home repairs.
1. Repair damaged veneer
You should repair any damage to your veneer before repainting your old furniture. This procedure will guarantee that the paint job appears at its finest, and it’ll assist in protecting the veneer from further damage. There’re some other ways to repair damaged veneers. One option is to get a wood filler.
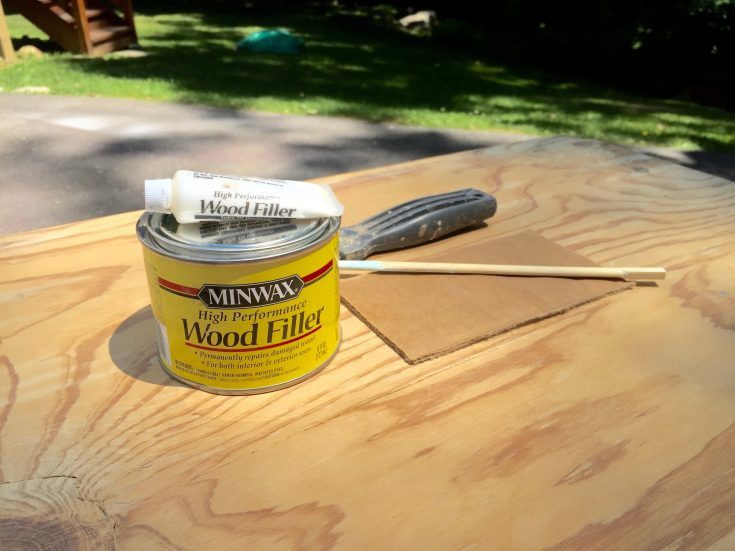
Another option is to use a patching compound specifically designed for repairing veneer. Whichever method you select, follow the manufacturer’s instructions closely so that you don’t get anything wrong. Once the repair is done, it’s time for the painting! Be sure to use high-quality paint to get the best results.
2. Change the electric outlet
You can change an old electric outlet if you’re comfortable with basic electrical work. You’ll need a screwdriver, a voltage tester, and a new outlet. First, switch off the power to the old outlet by flipping the circuit breaker to “off.” Use the appropriate tool to pull the cover plate from the old outlet.
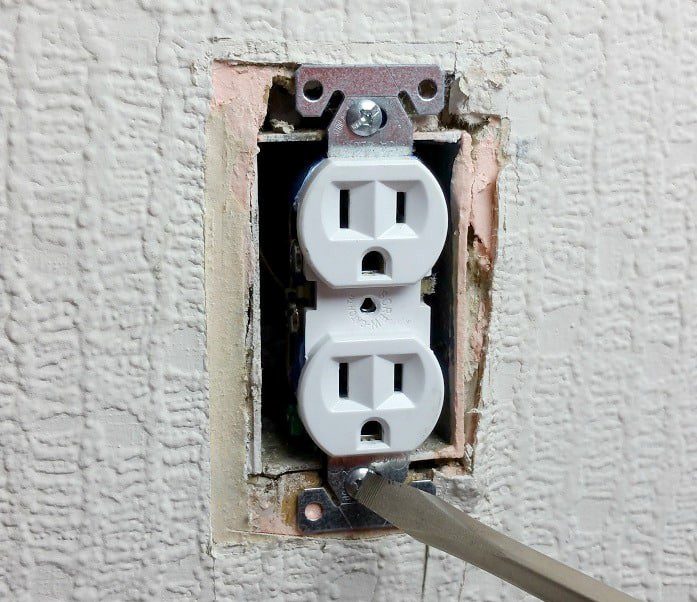
Next, use a voltage tester to test for electricity coming into the outlet. Once it’s confirmed that there’s no power running through the outlet, use a screwdriver to remove the screws from the old outlet in place. Pull out the old outlet and discard it, and replace it.
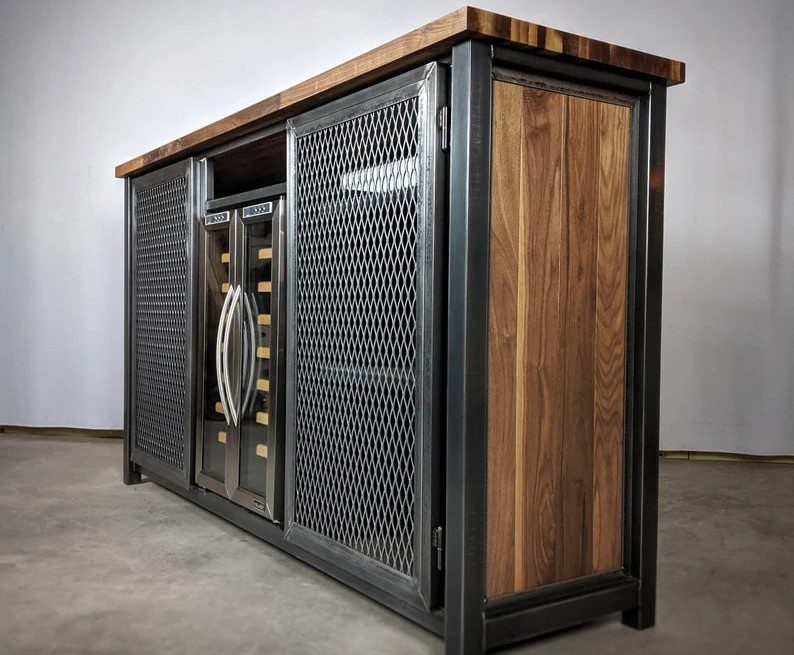
3. Paint old wood panels
Oil-based primers are the best option for painting over old wood panels, as they provide good coverage and seal the surface so that the latex paint will adhere properly. Make sure to choose a primer specifically designed for use on wood, as other types of primers may not provide adequate protection.

You’ll also want to use latex paint rather than acrylic or oil-based paint, as latex paints tend to be more durable. After the paint primer has dried, you may apply a coat of latex paint in any color you choose. Give the paint hours to dry before using your newly painted panels!
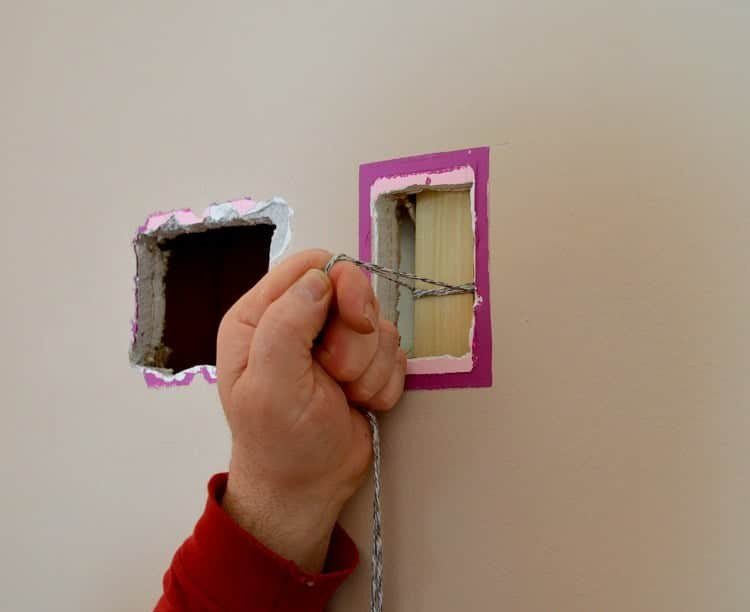
4. Wire electrical outlets
It’s a good idea to wire electrical outlets into drywall to prevent wires from hanging out. It’ll make the room look neater and it’ll maintain others safe by averting potential electrical fires. Luckily, you get to choose different methods to go about this.
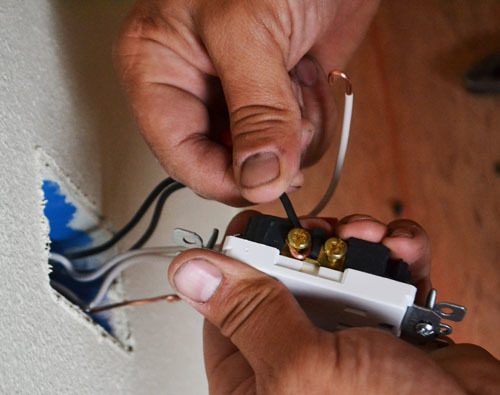
The easiest way is to use an electrical box that you can screw to the wall, and then the new outlet attaches directly to the box. There’s no need for wire pulling at all. In case, you don’t wish to utilize an electrical box, you’ll need to pull some wire.
5. Patch the door hole
You’ll need some patching tape and joint compound for this project. You’ll want to choose a type designed for masonry surfaces for the patching tape. Make sure to measure the hole before selecting your tape, as you’ll need a size that is at least 1/2 inch wider and taller than the hole.
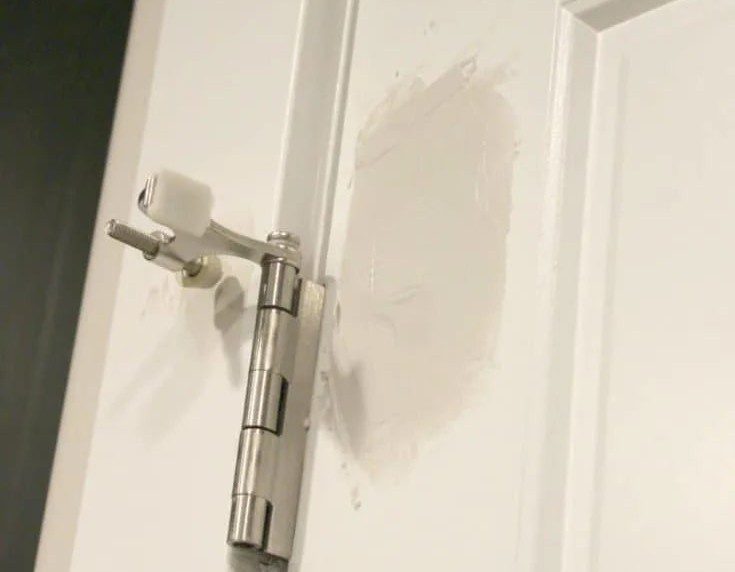
Once you have your tape, apply it to the surface around the hole using even pressure. If there are gaps in the coverage, use a putty knife or other flat object to smooth them out before they dry. Once the tape is applied and smoothed out, it’s time to mix up your joint compound.
6. DIY leaky faucet repair
A leaky faucet is a nuisance. It can waste water and drive up your utility bill. But it can also be a sign that there’s something wrong with the faucet itself, and fixing a leaky faucet is something you can do yourself without calling in a plumber. Fix a leaky faucet with some new washers.
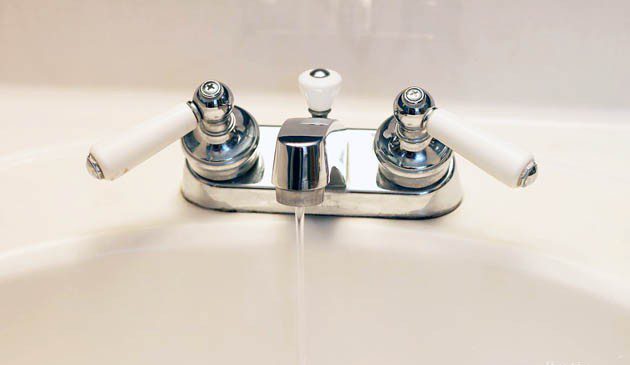
Buy them at any hardware store. The washers are very inexpensive, and they’re easy to install. Close the water supply to the faucet before you do this. Remove and discard the old washer from the valve stem. Place the new washer over the valve stem and screw on the handle.
7. Fix the sticky sliding door
This may be caused by dirt, dust, or even pet hair. Before trying to fix it yourself, clean the area satisfactorily. The fix for a sticky sliding door is pretty straightforward – you just need to apply some pneumatic tool oil to the tracks.
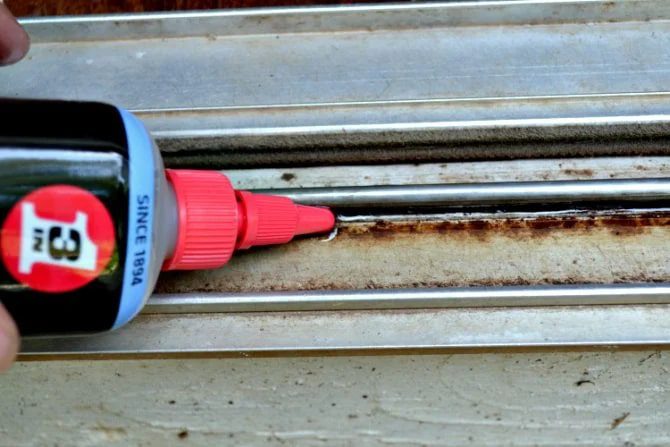
That’ll help the door slide more smoothly and prevent it from sticking. Make sure to apply the oil liberally, and then give the door a few good pushes to get it started. It should be good as new. You can try using a tool oil WD-40.
8. No more squeaky boards
Ah, the age-old question – how to get rid of pesky squeaky floorboards without having to replace them (or live with the noise). It may seem like every household has at least one room with creaky floorboards, and until now, there hasn’t been a surefire way to fix the issue.
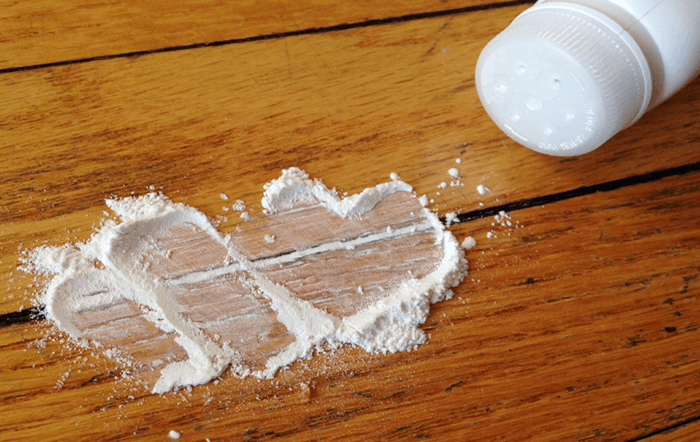
One simple solution is to sprinkle some baby powder on the boards. The powder will lessen the friction between the boards and stop them from squeaking. Be sure to wipe up any excess powder so it doesn’t end up all over your flooring.
9. Door slam stopper
Cabinet door bumpers are a nifty way to prevent doors from slamming without resorting to using pesky screws or nails. By using these bumpers, you’re able to cushion the door as it slams shut, which will help keep the noise down and prevent damage to both the door and the wall.

The great thing about cabinet door bumpers is that they’re incredibly easy to install. Peel the adhesive backing and stick them onto the upper part of the cabinet door. Since they’re found in various colors, you can easily choose one that fits your home’s aesthetics. And they’re way cheaper than traditional door stops.
10. No more scratched wood
Olive oil and vinegar are natural cleansers and sealers, so they can help repair scratches and protect the wood from future damage. Simply mix a 50/50 blend of olive oil and white vinegar, and apply it to the scratched surface with a soft cloth.
Rub in a circular motion until the solution is absorbed, then let it dry completely. You may have to repeat this process a few times for severe scratches, but your wood will appear good as new in no time. This method is never damaging to the wood; hence, it can be used repeatedly.
11. DIY concrete countertops
There are a lot of DIYs out there, but this one might just take the cake. If you have old countertops that you’re looking to update, cover them with Ardex Feather Finish concrete. It’s a straightforward process, and the outcomes are stunning. See that your countertops are clean before you get started.
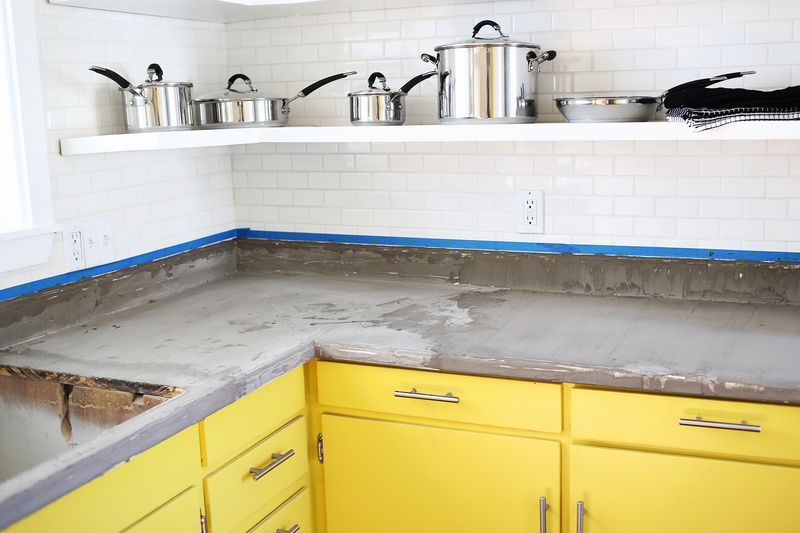
Then, mix the Ardex Feather Finish concrete following the method on the package. Apply it to your countertops using a trowel or a brush, making sure to distribute it evenly. Let it dry for 24-30 hours, then apply a second coat. After that dries, your new concrete countertops will last for years.
12. Paint an old sink
The best way to paint an old sink is to start by cleaning it thoroughly. Use a degreaser or a cleaner specifically formulated for removing paint or grease. If the sink is dirty, you’ll probably have to use a brush to get all the built-up gunk off.
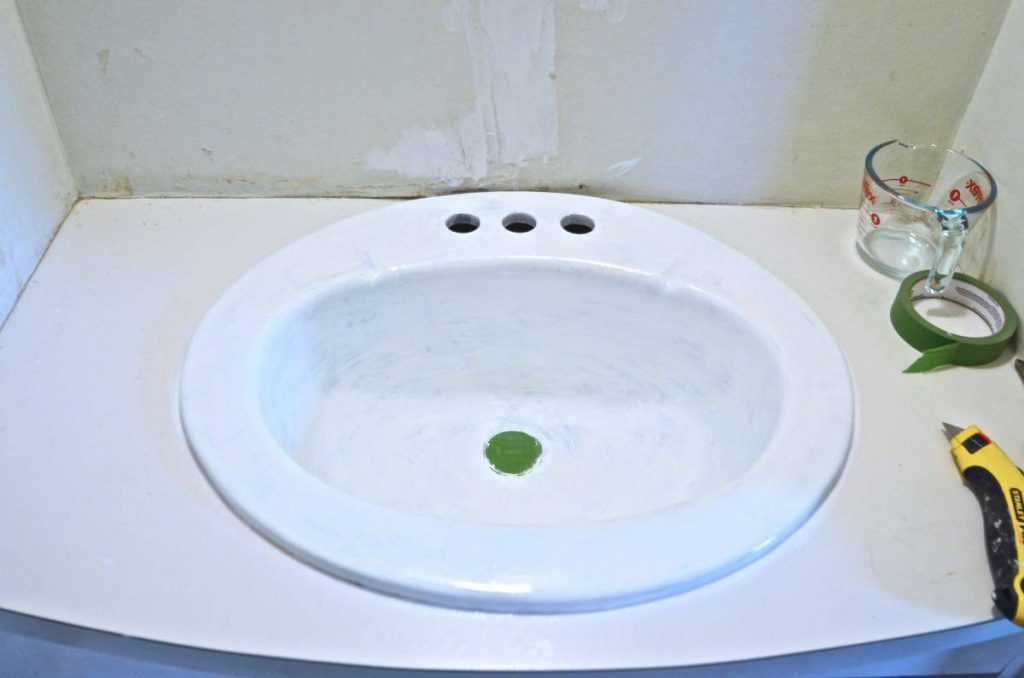
Once the sink is clean, tape off any areas that you don’t want to be painted using painter’s tape. Then use a primer specifically designed for metal surfaces. Paint the primer on in even strokes, ensuring to get into all the nooks and crannies. Use a coat of spray paint made for metal surfaces.
13. Painter’s tape for edges
You can get perfect edges while caulking by using painter’s tape. First, cut a piece of tape the size of the caulking bead you want to produce. Next, press the tape against the edge you want to caulk. Finally, run your finger along the edge of the tape to create a smooth, even caulking bead.

Remove the tape once you’re done caulking. Make sure that the tape is pressed nicely against the surface so that there are no gaps. If you follow these tips, your caulking job will look great and will be free of any unsightly bubbles or ridges.
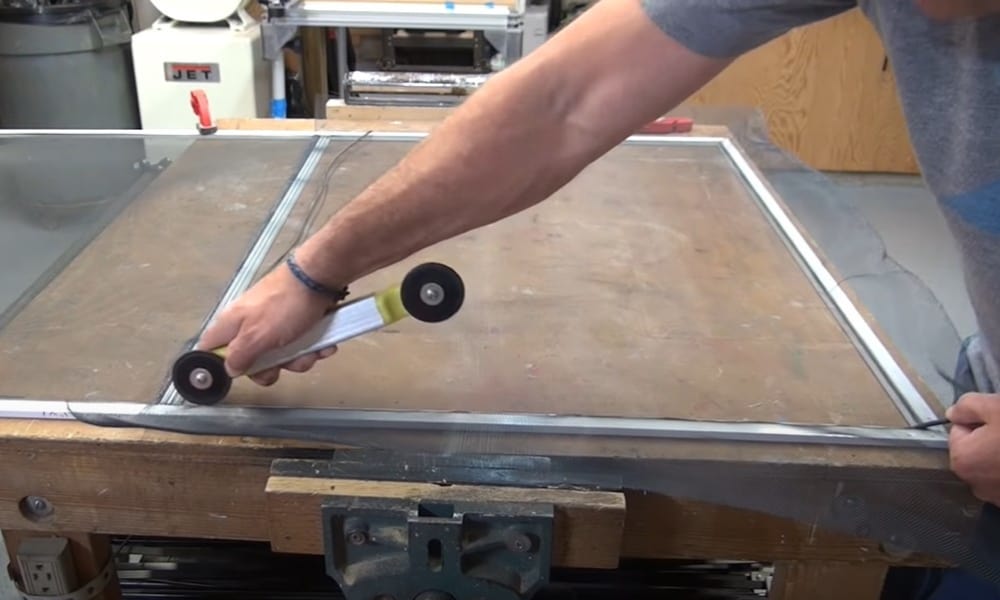
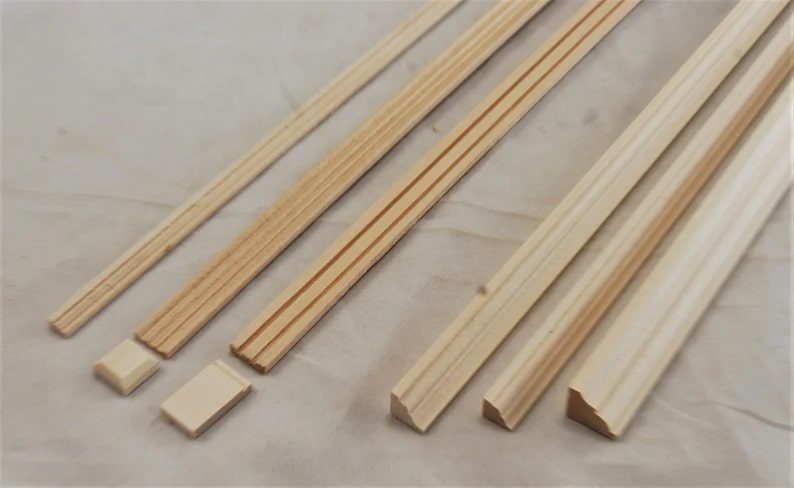
14. Faux-thick baseboards
There are a few options to go about installing thick faux baseboards. One way is to use a high-density foam board that can be cut to size and glued or nailed. Another option is to use cardboard or foam core, which can be cut to size and glued or taped.
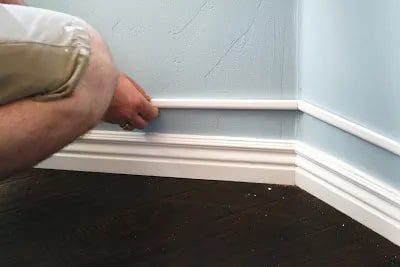
For either option, ensure the surface is smooth and free of bumps or ridges before attaching the faux baseboard. Commence by measuring the length and width of the room. You will need to purchase enough baseboards to surround the entire room. Load the cracks between the wall and baseboard with caulk.
15. AC maintenance and repair
It’s excellent to learn some basic AC maintenance and repair to do at home. That way, you can avoid calling a professional every time something goes wrong. And it’s pretty nice being able to do these things because then you get to save some money.
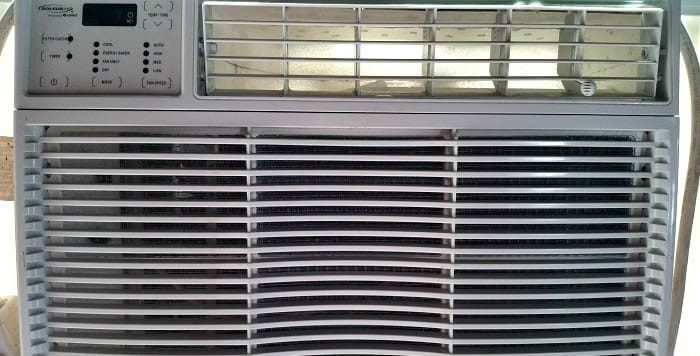
Start with mildly cleaning the AC if you wish to skip professional servicing. When the unit is not turning on, it may be due to a tripped breaker, a blown fuse, or trouble with the wiring. If the air is not cold enough, there may be low refrigerant levels, dirty filters, or blocked vents.
16. Repair drywall holes
You can use a few different putty variants to fix drywall holes. The most popular is called spackle. It comes in a tube and you have to blend it with water before you apply it. Spackle dries quickly and can be sanded down once it’s dry.
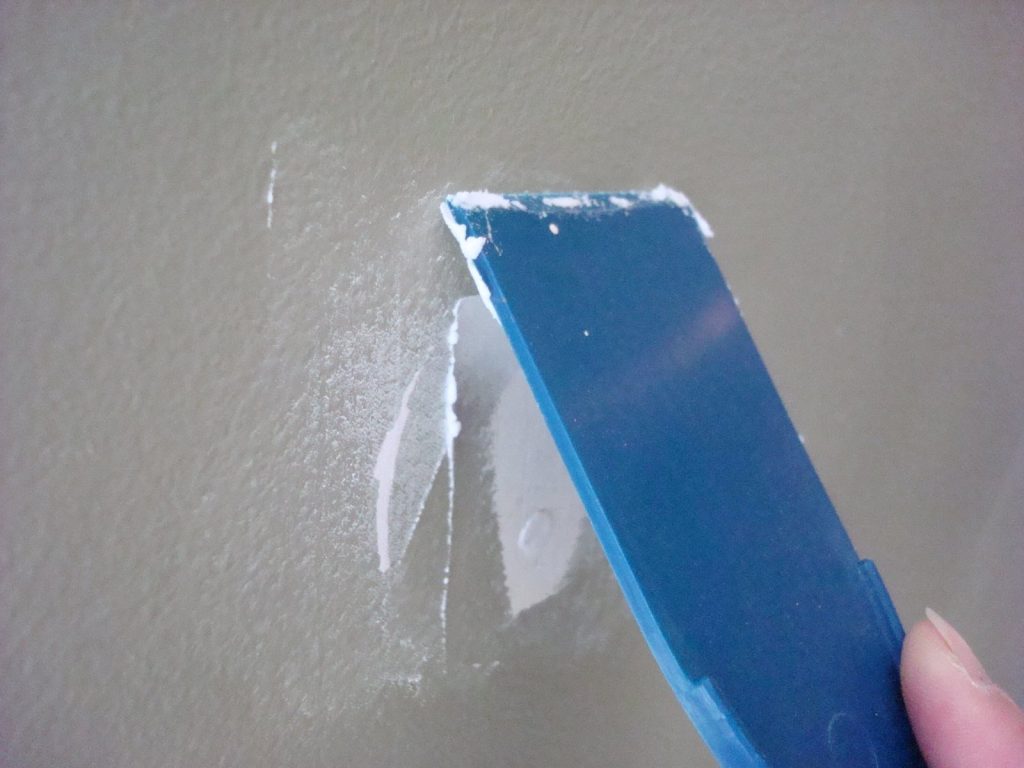
Another type of putty is called joint compound. A joint compound is a little more difficult to work with than spackle, but it provides a much smoother finish. It also takes longer to dry than spackle. You can find both spackle and joint compound can be bought at a store.
17. Damaged furniture repair
Use wood filler to repair damaged furniture. Wood filler is a putty that’s used to fill in gaps or cracks in wood surfaces. It dries hard and may be sanded and painted. To repair damaged furniture with wood filler, first, clean the area with a degreaser or solvent.
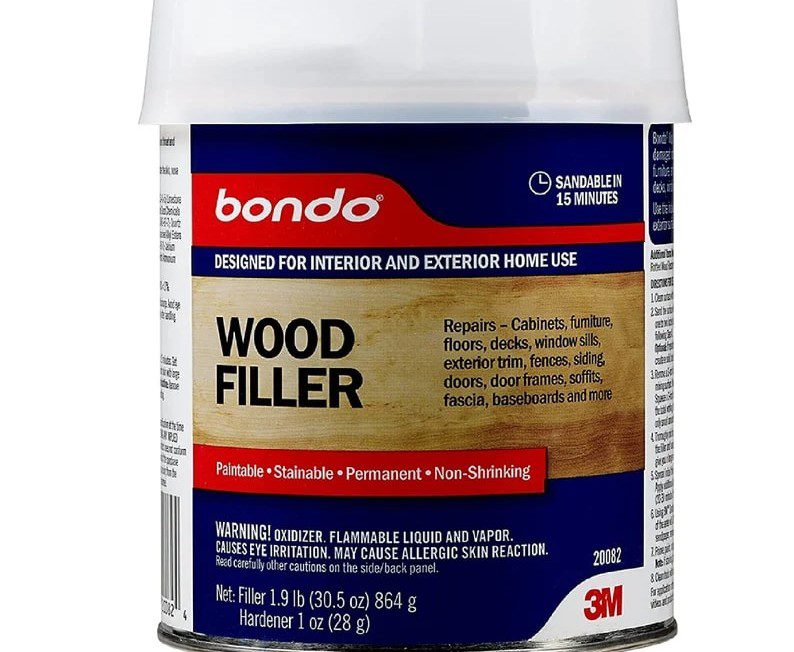
Use the wood filler in the area and spread it into a thin layer with a putty knife. Allow the wood filler to dry harder, then sand it smooth. Finally, paint over the area with a coat of paint suitable for furniture. Your furniture pieces will be good as new.
18. Fill the hole in the roof
A hole in the roof can be unsightly and may need immediate attention. You may fill in utilizing drywall or sheetrock. First, cut a piece of drywall that’s larger than the hole. Next, cut a piece of backing rod that is slightly smaller than the hole.
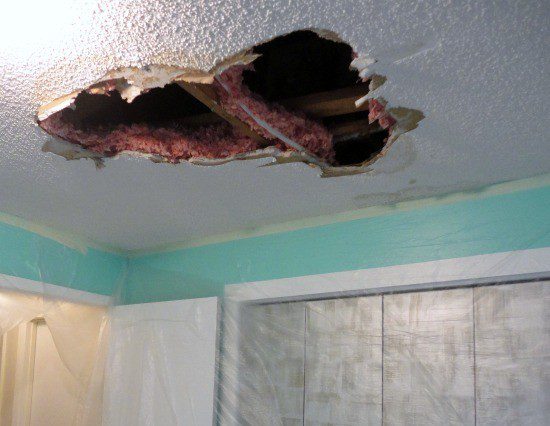
Put the piece of drywall over the hole and secure it in place with the backing rod. Finally, use a joint compound to smooth out the edges and create a seamless finish. Let it dry, and paint with the matching color of your roof to blend in the patchwork.
19. Epoxy filler for trims
You may use an epoxy filler to fix cracked trims on your car. Just make sure that you choose a type of epoxy filler that is specifically designed for automotive repairs. This type of epoxy filler is more enduring and not as probable to break or peel with time.
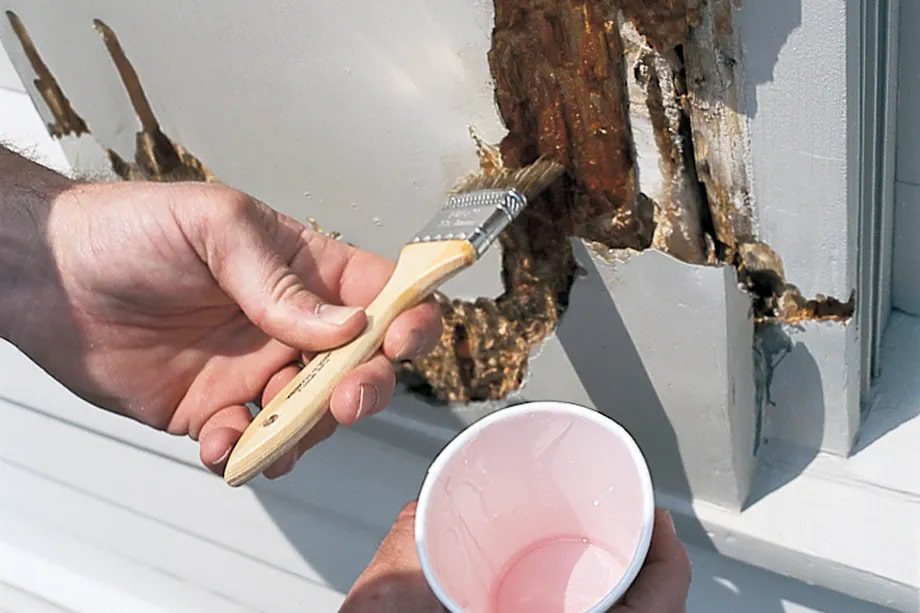
Before applying the epoxy filler, ensure the surface is clean and free of any dirt or debris. Then, use a precise putty knife to apply the epoxy filler in a thin layer over the crack. Allow the epoxy filler to dry completely before sanding it down smoothly.
20. Spruce up the fireplace
To paint your fireplace, use high-heat paint made for this purpose. Before you start painting your fireplace, you’ll need to confirm if it’s in a suitable shape. You have to clear it of debris or soot. If there are any cracks/chips in the paint, you have to get them fixed before starting.
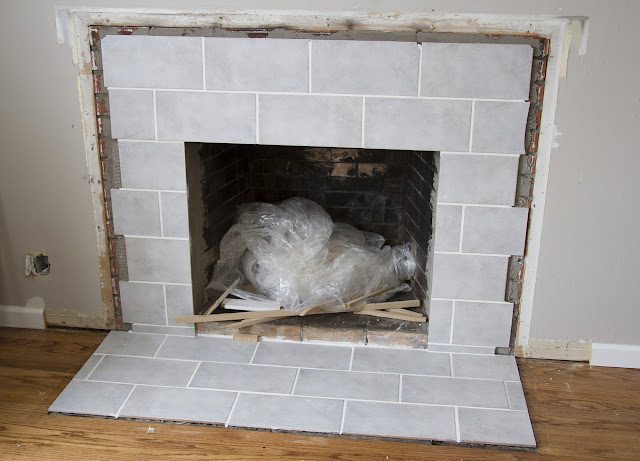
Once the fireplace is ready to go, start by painting it with a primer. It’ll make the paint stick to the surface and protect the fireplace from moisture. After the primer has dried, paint it in your favorite color. Wait for the paint to parch before you use the fireplace.
21. Replace the old seat
If you are a skilled user of fundamental tools, you may try replacing your toilet seat. First of all, stop the water supply and flush it to get rid of any water in the toilet. Finally, remove the broken toilet seat by unscrewing the bolts.
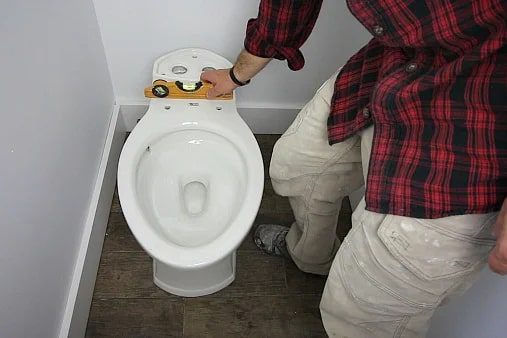
Measure the new seat before purchasing it to guarantee it’ll fit. The next step is to scrub the zone where you’ll put it. Apply caulking around the edge of the new seat before bolting it. Replace screws that were removed during the removal of the old seat.
22. Fix sofa chair scratches
Do not worry if your cat has scratched your sofa or chair—it’s a common occurrence and can be fixed with a little bit of know-how. Follow these steps to repair the fabric. Remove any loose bits of fabric using a pair of scissors. Be careful not to cut any further into the fabric.

Use a good amount of super glue on the fabric scratch. Let the glue dry completely (this will usually take around 24 hours). Once the glue’s dry, use sandpaper to lightly buff away any excess glue until the area is smooth and even with the surrounding fabric.
23. Revamp the old mirror
Why not try a creative and unique way to upgrade your old mirror? Instead of simply painting or re-staining the frame, try using wood panels around the edges and in the center. This’ll add a touch of elegance and style to your existing mirror.
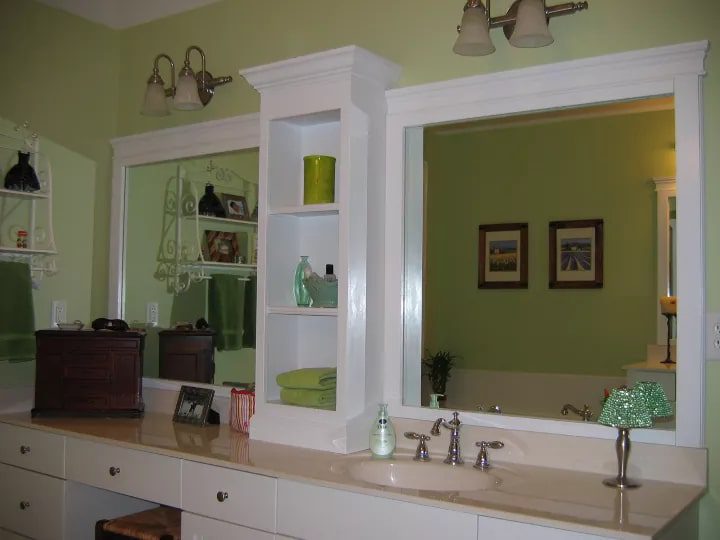
For extra visual interest, you could even use a different type of wood for each panel. Stain or paint the wood panels any color you like, or paint them white for a sober look. Be sure to seal the wood with a high-quality sealant to protect it from moisture and sunlight.
24. Work on drywall cracks
If you’re experiencing small drywall cracks, there are a few simple ways to fix them before they turn into bigger problems. You can use a drywall sealant or caulk. Apply the sealant and smooth it out. Alternatively, you can go with a patch kit.
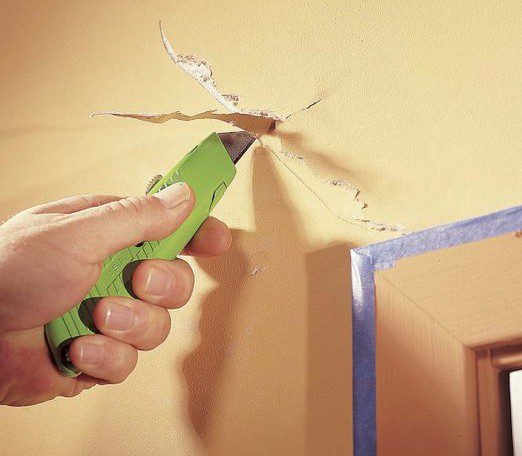
Patch kits usually come with adhesive, mesh, and a putty knife. First, cut a piece of adhesive that’s slightly larger than the crack. Next, add the mesh to the adhesive and press it into the crack. Then, use the putty knife to layer the putty onto the mesh until it’s flush with the wall.
25. New-looking cabinets
It’s a great way to update your cabinets without spending much money. You’ll need a can of spray paint (in whatever color you choose) and some painter’s tape. First, remove all the cabinet hardware and use some newspaper or a cloth to cover the surface.
Then, use the painter’s tape on the places you’ll paint. Skip the areas that’ll be touching the door hinges or drawer pulls when they are reattached. Finally, spray evenly over each section and let it dry before reassembling your cabinets.
26. Sheetrock hole patching
Repairing Sheetrock holes is a lot easier than it seems. You can probably do it yourself with some basic tools and supplies. Snip a piece of patching sheetrock approximately the exact dimension of the hole. Spread a thin layer of white joint compound to the patch.
Press it into the hole. Smooth out the compound with a precision drywall knife, then let it dry. Repeat steps 2 and 3 till the hole is filled in and flushed with the wall surface. If you have any queries about Sheetrock hole patching, don’t hesitate to ask a professional contractor.
27. Replace the old showerhead
It’s always excellent to replace an old showerhead with a new one, as this can help save money on your water bill and make your shower experience more enjoyable. Shower heads often become clogged over time, which can cause low water pressure and make it difficult to rinse the soap suds off your body.
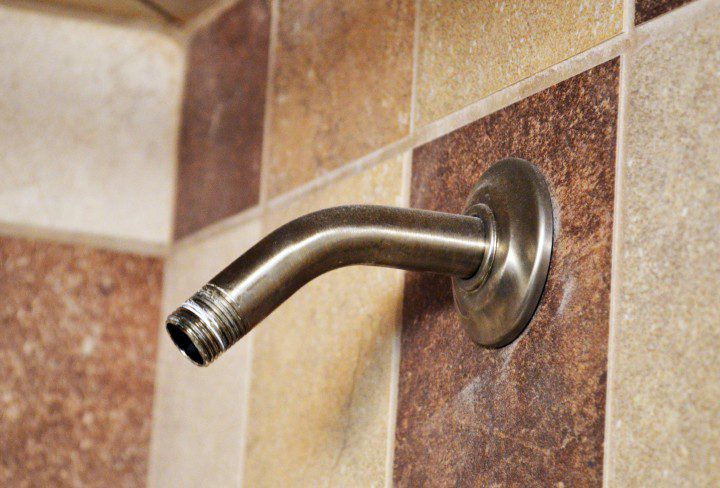
Replacing an old showerhead with a new one is a quick and easy process that can be completed in just a few minutes. Grab a screwdriver and a new showerhead. Simply remove the old shower head by unscrewing it from the pipe, then screw on the new shower head in its place.
28. Get rid of popcorn ceilings
Popcorn ceilings can be a pain to get rid of, but with a little effort, you can do it yourself. The first step is to remove as much of the popcorn as possible using a stiff brush or putty knife. Once you’ve gotten most of it off, you’ll need to start applying the adhesive.
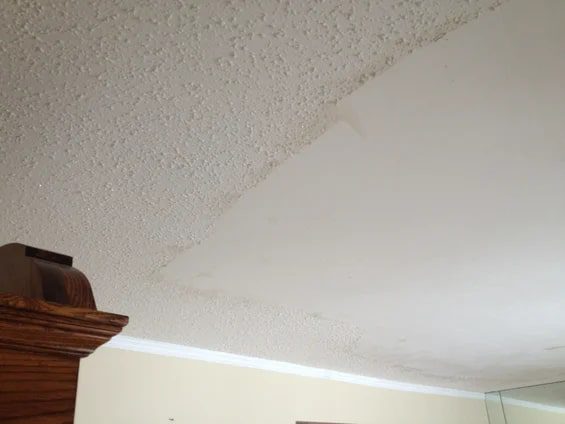
You may use any type of adhesive that you want, but I would recommend using something specifically designed to remove popcorn ceilings. Once the adhesive has been applied, let it dry completely before scraping off the rest of the popcorn. Be careful not to scrape off too much of the adhesive in the process.
29. Clorox for grout cleaning
When you’re looking for an affordable and easy way to clean your grout at home, Clorox is a great option. It’s a bleach-based cleaner. Bleach is great for removing tough dirt and grime, and it can also disinfect the surface to kill any germs or bacteria.
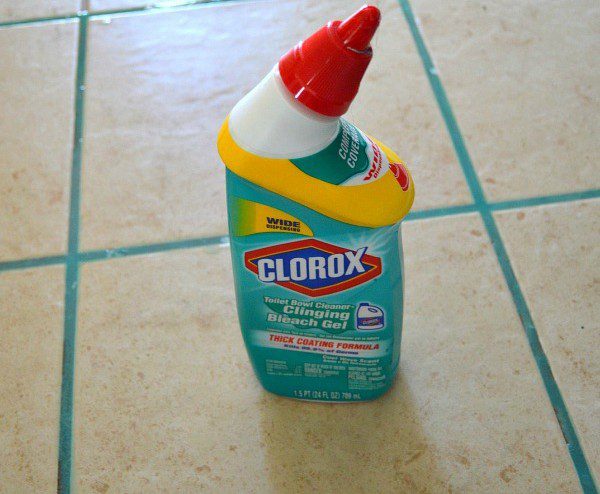
Clorox comes in a variety of formulas, so you can choose the one that best suits your needs. Mix the Clorox cleaner with some water and use a brush or sponge to scrub the grout. Let it sit, and rinse with water. You’ll be amazed at how clean your tiles look!
30. Clean and repair fans
There are a few steps you may take to clean and repair fans. For starters, make sure the fan is unplugged and give it a good wipe-down with a damp cloth. You may use a vacuum cleaner to eliminate any dirt or dust buildup.
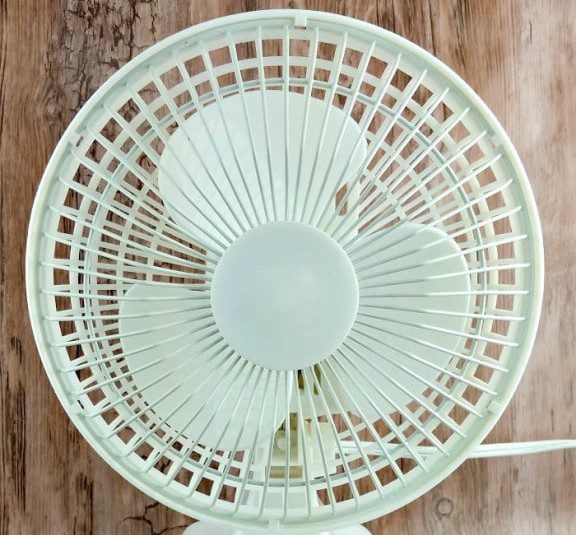
If the fan is dirty, you may need to use a mild detergent or some vinegar diluted with water. To repair a fan, you’ll need some basic tools like screwdrivers and pliers. The first step is to locate the problem and then determine if it’s something that you can fix yourself.
31. Repair an old sewing machine
It’s not difficult to repair an old sewing machine. In fact, it’s often simpler than trying to find a replacement machine. Here are the basic steps! Clean the machine by removing all the lint and dirt that has built up over time. You may do this by using a vacuum cleaner or compressed air.
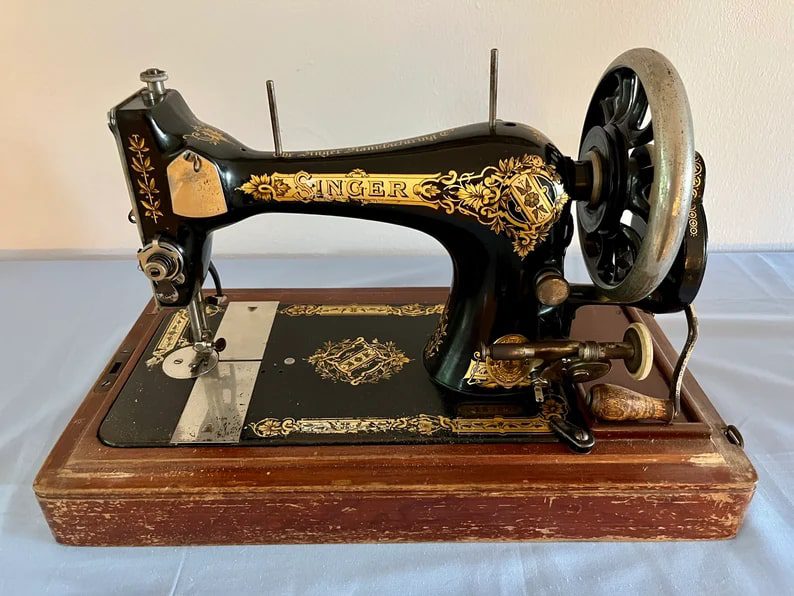
Check the bobbin case and ensure it’s clean and free of lint or thread knots. Lubricate all of the moving parts with sewing machine oil. Replace any worn parts, such as the belt or drive wheel. Check the timing by aligning the marks on the pulleys and then tightening.
32. Paint your old bathtub
Old bathtubs may be given a new life with a Tub and Tile refinishing kit. This is a great way to avoid the expense and hassle of replacing an old tub. The first thing you may need to do is gather all the supplies you’ll need for the job.
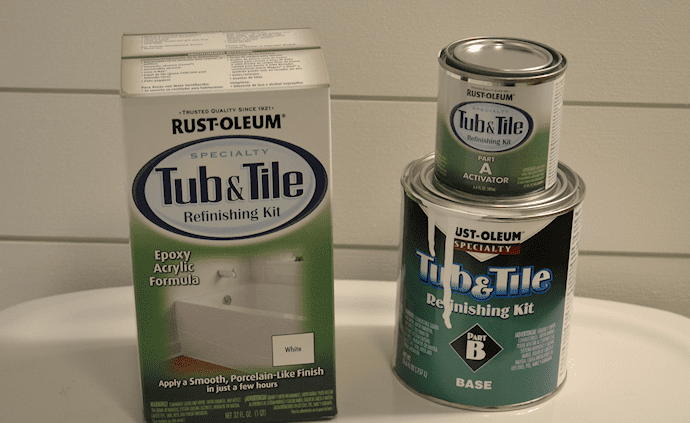
This includes the refinishing kit, a dust mask, goggles, gloves, and painter’s tape. The process is simple: clean the tub thoroughly, then spray on the refinishing kit. The tub will dry in minutes, and you’ll be able to use it again immediately.
33. Attach a new window screen
There are a few options to do this, but the easiest is to use a staple gun. First, remove the old screen and then place the new screen in position. Staple the top and bottom of the screen to the frame, ensuring it’s secure. Then, staple it along each side of the screen.
Finally, cut off any excess screen with scissors. Another is to use tacks or nails, pushing them through the screening and into the wood on either side of the window. A third option is to use screws, drilling them through the screening and into the window frame. Ensure the screen is tight against the window.
34. Smooth baseboard and trim
It’s essential to use a good quality caulk and caulk gun when sealing the seams between your baseboard and trim. Otherwise, you may find that your trim starts to peel away from the wall over time. It’ll make all the difference in getting a nice, smooth finish.
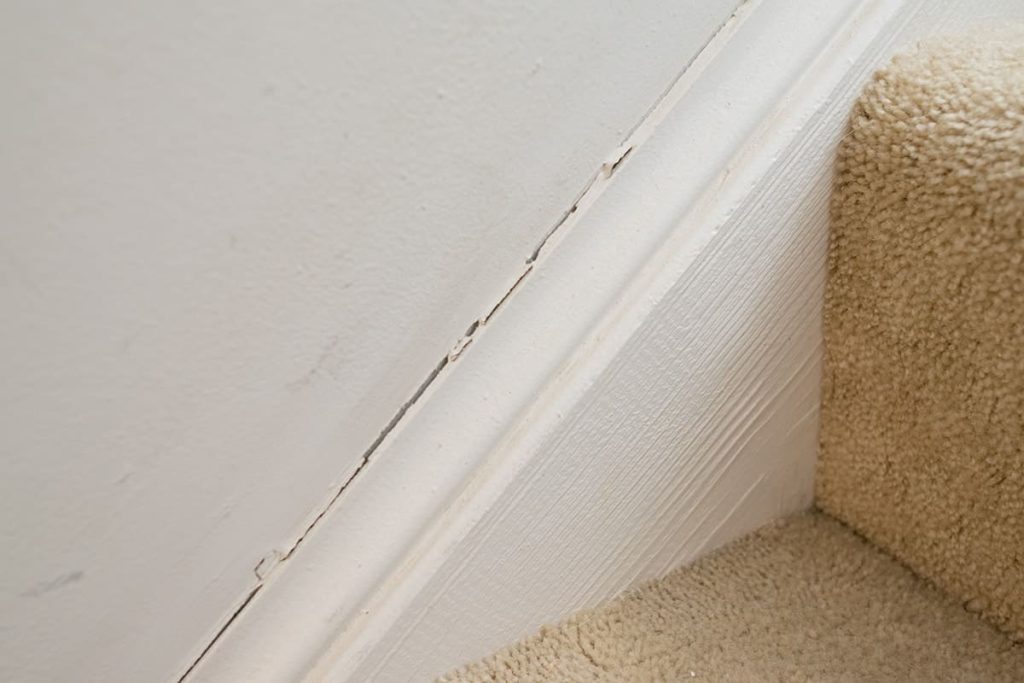
Also, be sure to use a damp cloth or sponge to wipe away any excess caulking as soon as you’re done. This will help avoid those unsightly drips and give you a nice, neat appearance. Allow the caulk to dry before touching or painting over it.
35. Repair patches on drywall
3M Wall Repair Kit is the perfect solution for patching and repairing small holes or damage to your walls. The kit comes with a putty knife, sandpaper, and various repair patches in different sizes so that you can fix any hole or damage quickly and easily.
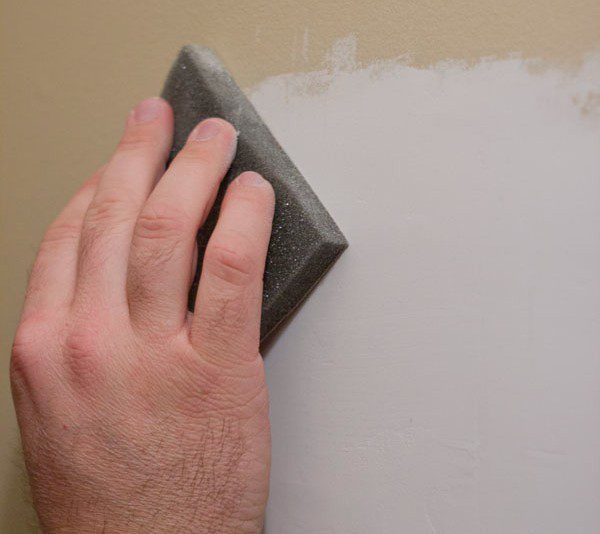
To use the kit, start by cleaning the surface of the wall around the hole or damage with a dry cloth. Use the putty knife to add a thin layer of the repair compound. Then use the sandpaper to smooth out the compound until it’s flush with the wall’s surface.
36. Fix cat scratches
There are a few different options to fix cat scratches on leather furniture. The most straightforward way is to simply apply some leather oil or leather glue to the scratch and let it dry. This may help fill in the scratch and make it less visible.
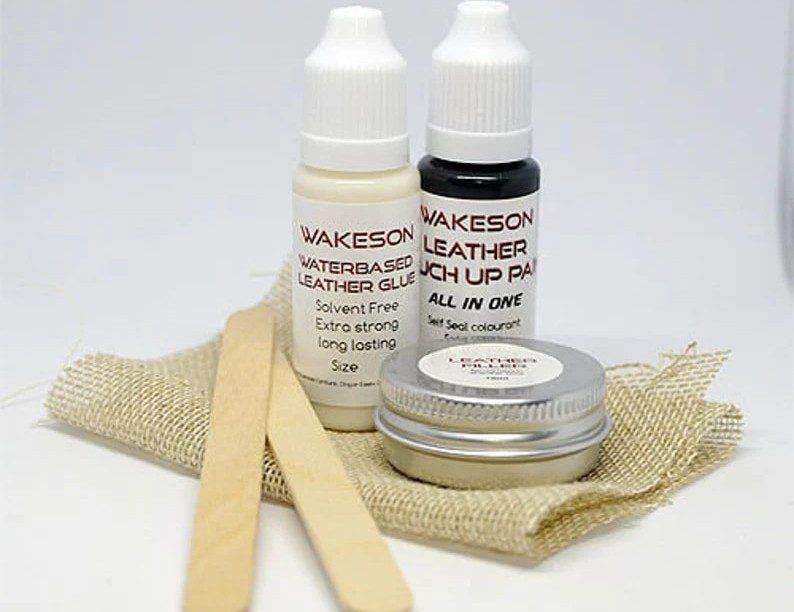
You can also try using a wax-based furniture repair kit to fix the scratch. Just be sure to follow the directions carefully so that you don’t end up making the problem worse. And lastly, if all else fails, you may always try taking your furniture to a professional upholsterer.
37. Fix the trim gap
There’s no need to get frustrated by the trim gap—it’s an easy fix! All you need is a few supplies and a little bit of patience. Here are the steps to take. Cut a piece of wood that’s the same width as the trim and at least 2 inches taller than the trim itself.
You may use any type of wood, but we’d recommend something with a nice finish, like oak or maple. Sand the edges nicely of the wood so that they’re smooth. Stain/paint the wood to match your trim color. Use a sealant to protect the wood finish from moisture and sunlight.